December in a small rental kitchen usually means one thing: no counter space, and guests anyway. A holiday hot cocoa station for a small kitchen solves both problems at once — it gives everyone something warm to hold, keeps guests out of the cook's way, and, done the renter way, it packs away into a single bin in January instead of becoming a permanent counter display. This guide builds a cocoa station that fits a tiny kitchen, costs almost nothing if you shop your own cupboards first, and disappears cleanly when the season ends.
The difference between a cocoa station that works in a small kitchen and one that swallows it is size discipline: one tray, one drink base, two or three toppings, and mugs for the people actually drinking right now. Everything else — the second tray, the sixth topping, the decorative village — is what turns a cozy idea into counter chaos. Pair this with the small-kitchen hosting setup if you are feeding a crowd too, but the cocoa station itself is designed to run on its own, even on an ordinary December evening.
Pick the spot first: the one-tray rule
1. Choose the tray before you choose the toppings
Start with a tray you already own — a baking sheet with a lip, a serving tray, a shallow basket — and let its size set the station's limits. Everything in the station must fit on that tray, and the tray must fit in one cupboard or on one shelf when the season ends. If you buy a tray for this, buy one that already has a job in your kitchen the rest of the year. The station also needs a home that is not the main prep zone, even if that means it lives on the rolling cart or a side table instead of the counter.
2. Put the station where guests can serve themselves
A self-serve station only works if guests can reach it without crossing the cook's path. The best spots in a small kitchen are the end of the counter, a cleared windowsill ledge, or the rolling cart pulled to the edge of the room. Keep the hot-water source — the kettle or the pot — separate from the tray itself: the tray carries dry goods and mugs, and the kettle stays on the stove or its usual spot, brought over only when it is time to pour. Carrying a tray of hot water and loose mugs together is how a cozy evening becomes a cleanup evening.
3. Set the pack-away shelf before you set the station up
Before a single jar goes on the tray, decide where the whole station will live after the holidays — one shelf, one bin, one labeled box. If it has nowhere to go, shrink the station until it does. This is the rule that keeps a December idea from becoming a year-round counter resident, and it is the same discipline behind the holiday dish pack-away: seasonal things earn their counter time by having a storage home the rest of the year.
Build the station: base, toppings, mugs
4. One drink base, made in a batch
One cocoa base beats three options in a small kitchen. Make a single batch of cocoa — stovetop in the biggest pot you own, or a slow cooker if you have one and the counter can spare it — and keep it warm while guests serve themselves. A slow cooker on the "warm" setting is the small-kitchen cheat here: it holds the cocoa, frees the stove, and lets guests ladle their own. If you are serving only a few people, a kettle and a jar of good cocoa mix does the same job with less washing up. Either way, one base, one ladle, one pot — the variety comes from the toppings, not from running two drinks at once.
5. Two or three toppings, in small closed jars
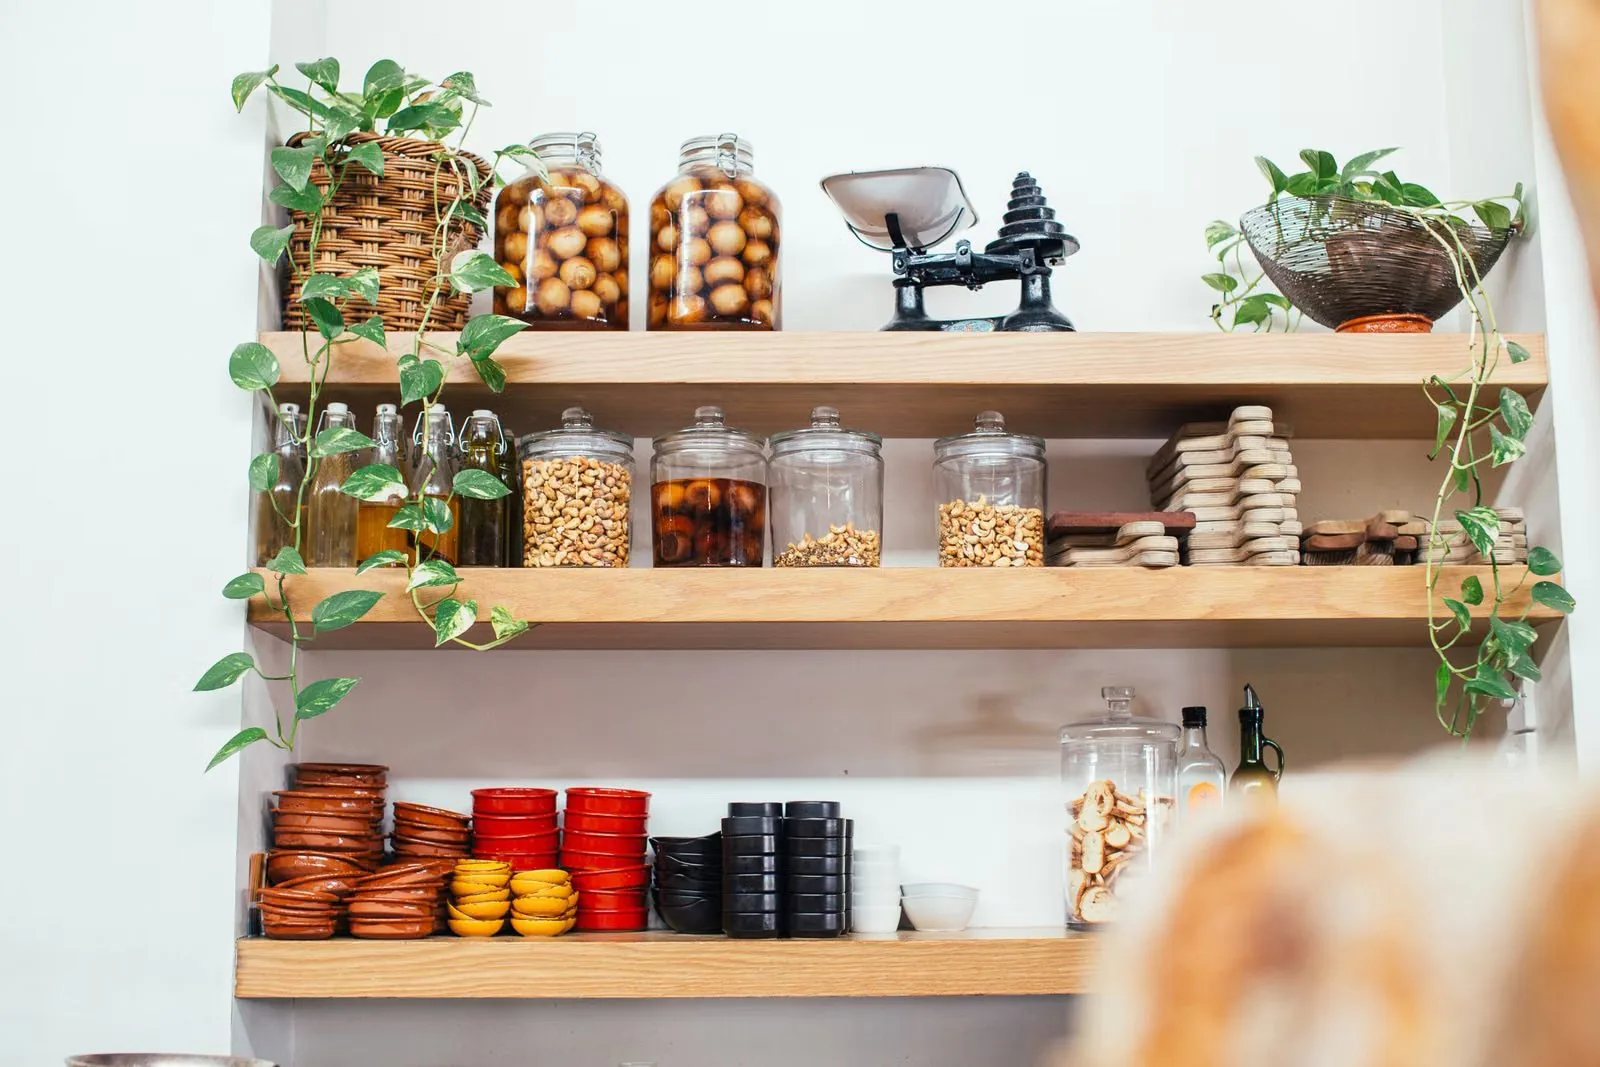
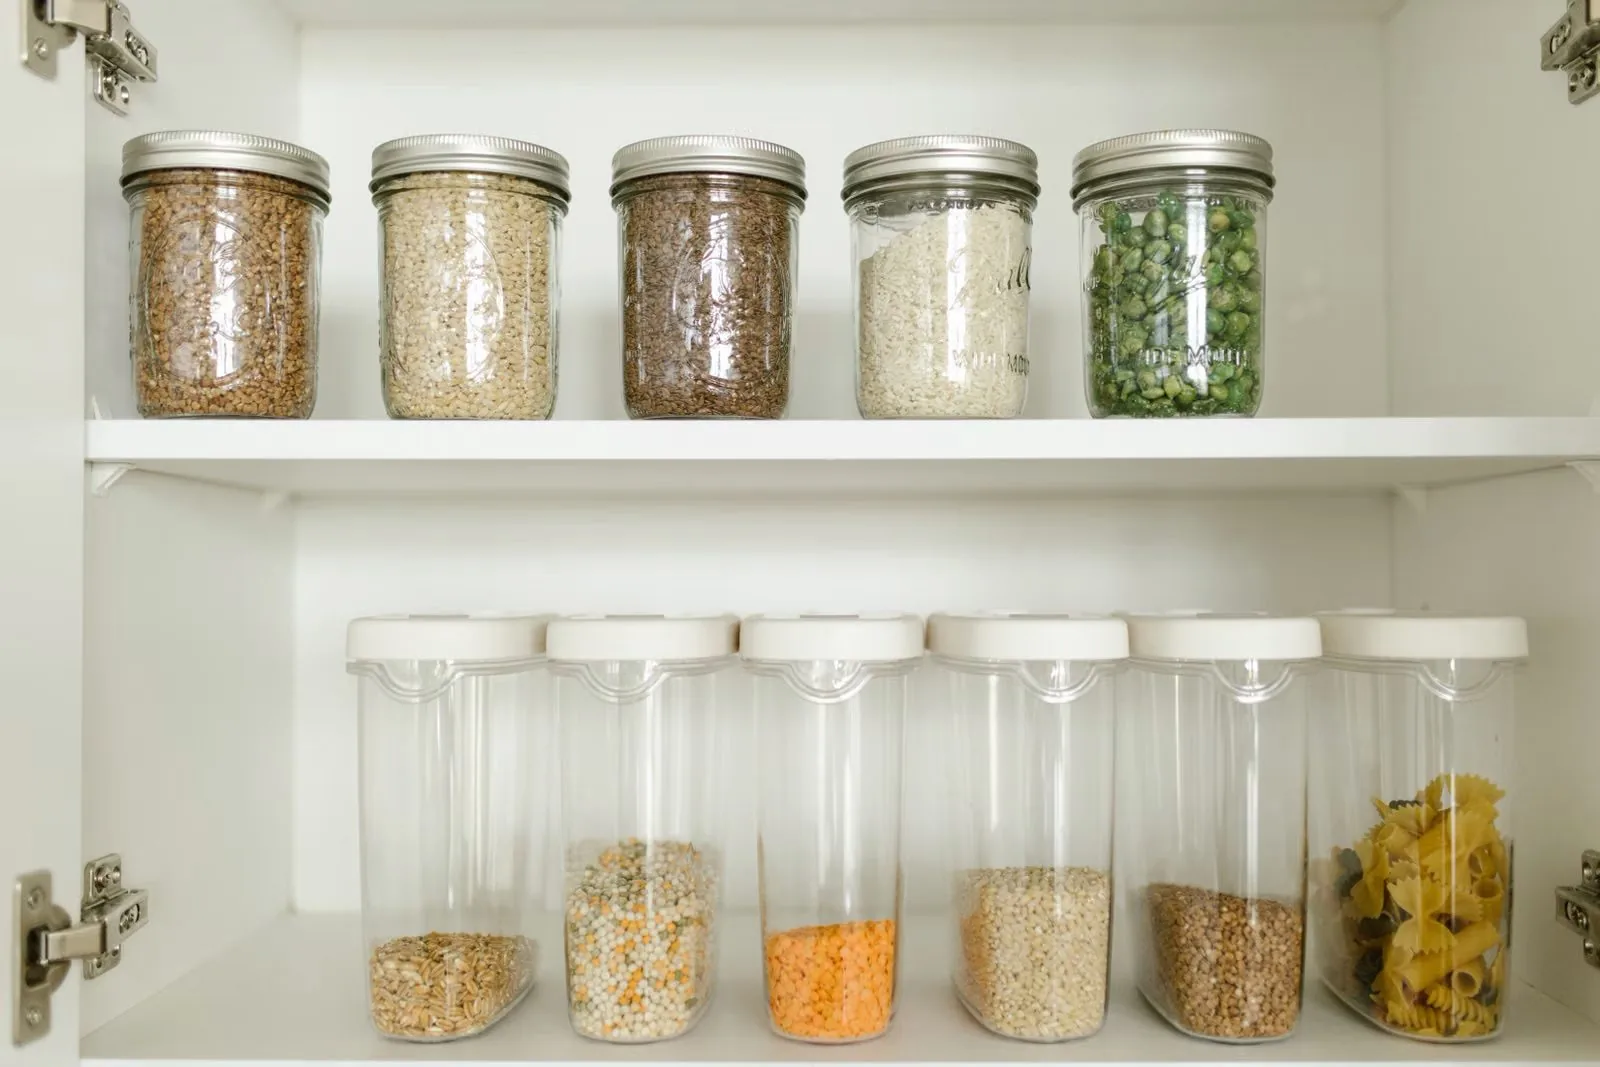
Mini marshmallows, chocolate shavings, and crushed candy canes are the classic trio, and three is the right number for a small station. Use small jars — jam jars, spice jars, anything you already own — instead of full-size canisters, and keep them closed between servings so toppings stay fresh and the station stays tidy. Label each jar so guests do not have to ask, and keep a small spoon in each jar so hands stay out of the food. If a guest has allergies, keep ingredient packaging nearby and use separate spoons; a small station makes this easier, not harder, because there are only three things to track.
6. Mugs for the people drinking now, not the whole collection
Set out one mug per person who is drinking right now, not your entire mug collection. The rest stay in the cupboard, and guests who want a second round can reuse their mug or grab a fresh one from the usual spot. Stacking four or five mugs on the tray looks festive in photos and eats the tray in real life; the mugs are the bulkiest thing on the station, so limiting them is the single biggest space saver. If you are short on mugs, ask a couple of guests to bring their favorite — it becomes a conversation piece instead of a storage problem.
7. Add height, not footprint, with a tiered stand
When the tray feels full but you still want a little more, go up instead of out: a small tiered stand, a cake stand, or even an upside-down bowl under a plate adds a second level without taking more counter. Toppings go up top, mugs stay below, and the station reads as generous while occupying the same square inches. This is the same trick that makes a daily coffee station work in a tiny kitchen — vertical space is free, counter space is not. Keep the top tier light, though: a tiered stand loaded with full jars tips more easily than a flat tray.
8. One festive touch, not a theme park
A short string of battery lights, a sprig of greenery, or a small handwritten sign ("Cocoa — help yourself") is enough to make the station feel like an occasion. Battery lights are the renter's friend: no outlet hunting, no cord across the walkway, and they come off the tray in seconds. Resist the full decorative spread — every decoration is something that has to be stored in January and something that gets in the way of pouring cocoa in December.
Running it without losing the kitchen
9. Keep chilled toppings in the fridge until serving time
Whipped cream, milk, and any dairy topping stay in the fridge and come out only when drinks are being poured — never sit out as decoration. The same food-safety sense behind the holiday leftovers rules applies here: cold things stay cold until they are used, and the station tray carries only shelf-stable goods. Bring the cream out in a small jug, set a time to put it back, and do not leave it out "just in case" for hours.
10. Refill from a backstock bin, not from the grocery bag
Keep a small backstock bin — on the fridge top, in the pantry zone, or wherever your overflow lives — with extra cocoa mix, marshmallows, and candy canes, and refill the station jars from it. This keeps the station itself small while the party keeps going, and it stops the classic failure of a half-empty station with a grocery bag torn open beside it. When the backstock bin empties, the season's cocoa supply is done — a natural stopping point that also keeps January's cupboards from holding stale toppings.
11. The ten-minute pack-away
When the last guest leaves, or when the season ends, the station should pack away in ten minutes: jars back in the cupboard or the backstock bin, tray washed and returned to its everyday job, mugs back in the cupboard, lights coiled into the holiday box. If the pack-away takes longer, the station was too big — note what did not get used and shrink it next year. A station that packs away cleanly is a station you will actually set up again, and that is the whole point: a small, repeatable December ritual, not a one-year production.
The $10 cocoa station kit
A tray you already own (free), three small jars from the cupboard (free), a jar of cocoa mix (~$4), mini marshmallows (~$2), candy canes (~$2), and battery lights (~$2 if you do not already own them). If you already drink cocoa at home, the station costs almost nothing. And if you bake over the holidays, the holiday baking storage plan keeps the cookie side of the evening under control too.
📌 Pin this for later
Holiday Hot Cocoa Station for a Small Kitchen — save it to your "Small Kitchen Organization" board.
Frequently asked questions
How do I fit a hot cocoa station in a tiny kitchen?
Use one tray that fits in a single cupboard when the season ends, and let the tray set the limit: one drink base, two or three toppings in small jars, and mugs only for the people drinking right now. Keep the kettle separate from the tray, and use a rolling cart or side table if the counter cannot spare the space.
What do you put on a small hot cocoa station?
One cocoa base (stovetop pot or slow cooker on warm), two or three toppings such as mini marshmallows, chocolate shavings, and crushed candy canes in small labeled jars with spoons, mugs for current drinkers, and one festive touch like battery lights or a small sign.
How do I keep a cocoa station from taking over the counter all December?
Decide the pack-away shelf before you set it up, keep backstock in a separate bin, and pack the whole station away in ten minutes when the season ends. If it does not fit on one tray or pack away quickly, shrink it until it does.
Can I set up a cocoa station in a rental without buying furniture?
Yes — everything in this guide uses things you already own: a baking sheet or serving tray, jars from the cupboard, and your existing mugs. No drilling, no new furniture, and nothing that risks your deposit.
How do I handle dairy toppings safely at a cocoa station?
Keep whipped cream, milk, and other chilled toppings in the fridge until serving time, bring them out in a small jug when drinks are being poured, and return them to the fridge promptly — never leave them out as decoration for hours.