Holiday baking storage in a small kitchen is a seasonal problem with a predictable spike: for about eight weeks, flour, sugar, sheet pans, cooling racks, and gift tins all need a home at once, in a rental that barely fits everyday cooking. The fix is not a bigger kitchen. It is a temporary baking system — one dedicated baking zone, vertical storage for flat pans, and a planned overflow spot for ingredients — that you set up before Thanksgiving and pack away in January, with no drilling and no permanent changes.
This guide covers storage only: where baking supplies live, how to make room for holiday quantities, and how to keep counters clear while you bake. For hosting the meal itself — timelines, buffet stations, and seating — see the separate guide to hosting Thanksgiving in a small rental kitchen.
Step 1: Create one baking zone, not five scattered spots
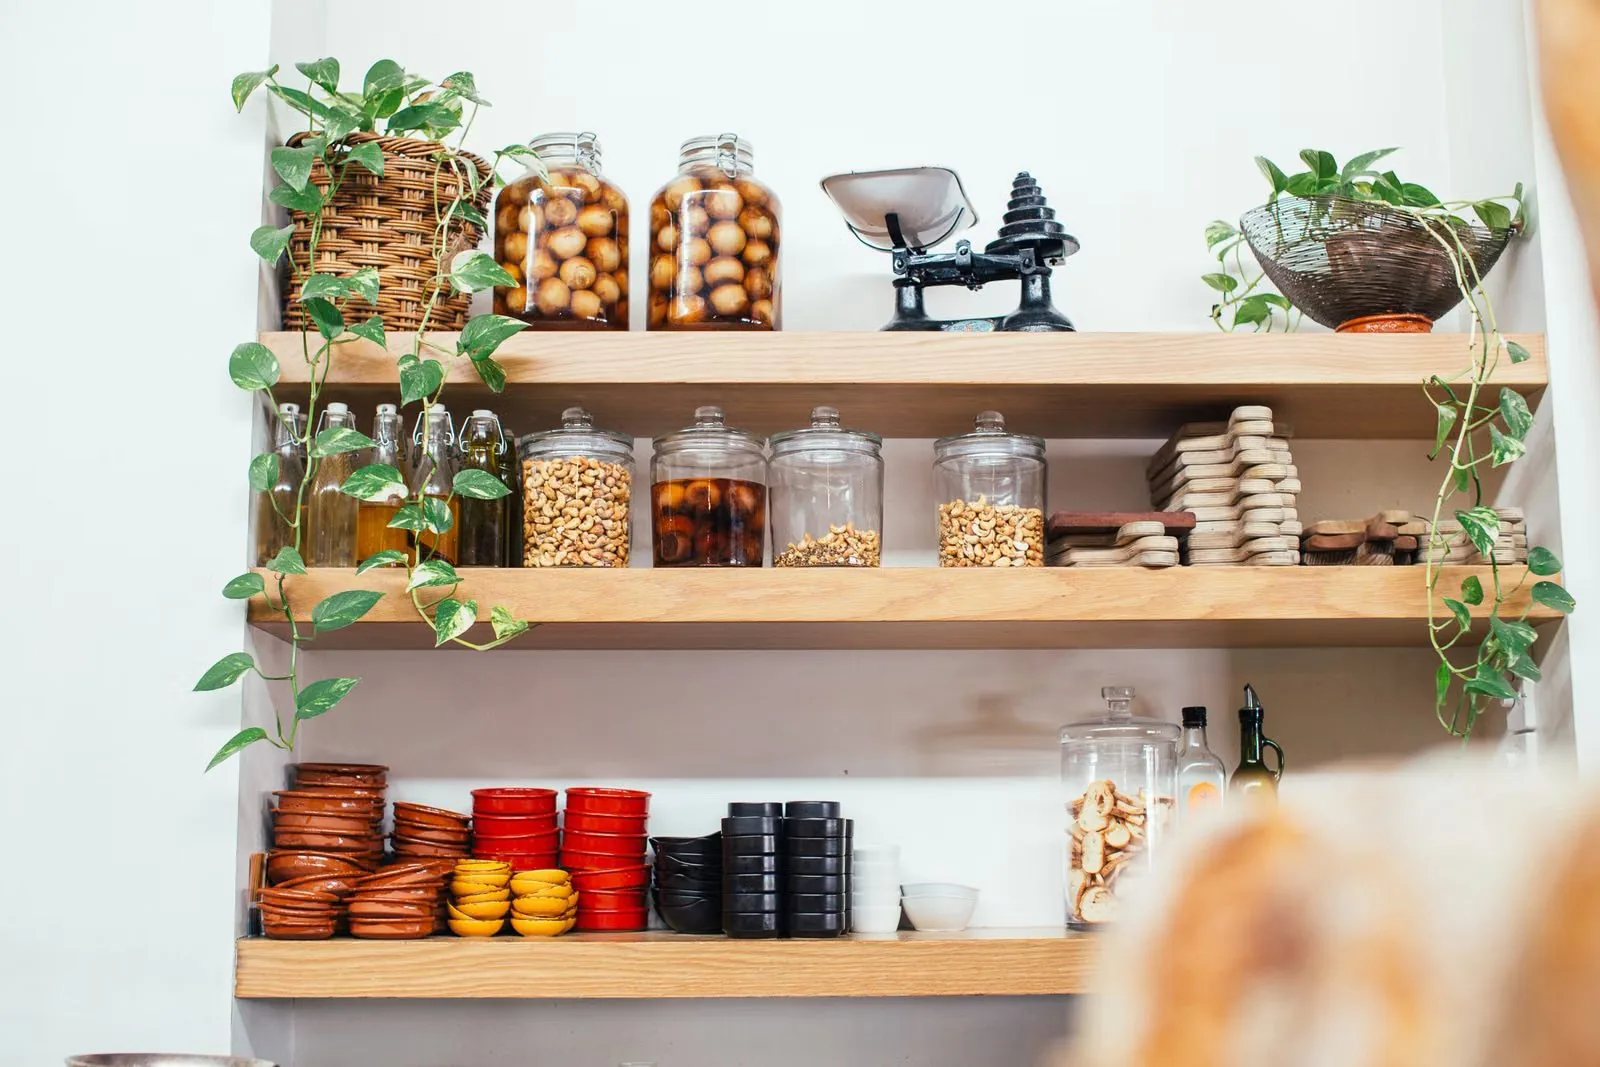
Holiday baking gets chaotic when flour is in one cabinet, the mixer is in another, and sheet pans are behind the pots. Gather everything baking-related into one zone for the season: ideally one cabinet plus the space directly above or beside it. Everyday items that get displaced — the waffle maker, the spare blender jar — can move to a labelled box in a closet for two months. They will survive the holiday in storage; your baking supplies will not survive being scattered.
- Zone core: flour, sugar, brown sugar, baking powder and soda, cocoa, vanilla, spices for baking, chocolate chips, nuts, and sprinkles.
- Zone tools: mixing bowls, measuring cups and spoons, whisk, spatulas, rolling pin, hand or stand mixer.
- Zone flatware: sheet pans, muffin tins, loaf and pie pans, cooling racks, parchment.
If your kitchen has no pantry at all, build this zone on a shelf or cart using the system in the no-pantry storage guide and label it as the holiday baking station until January.
Step 2: Decant holiday quantities before they arrive
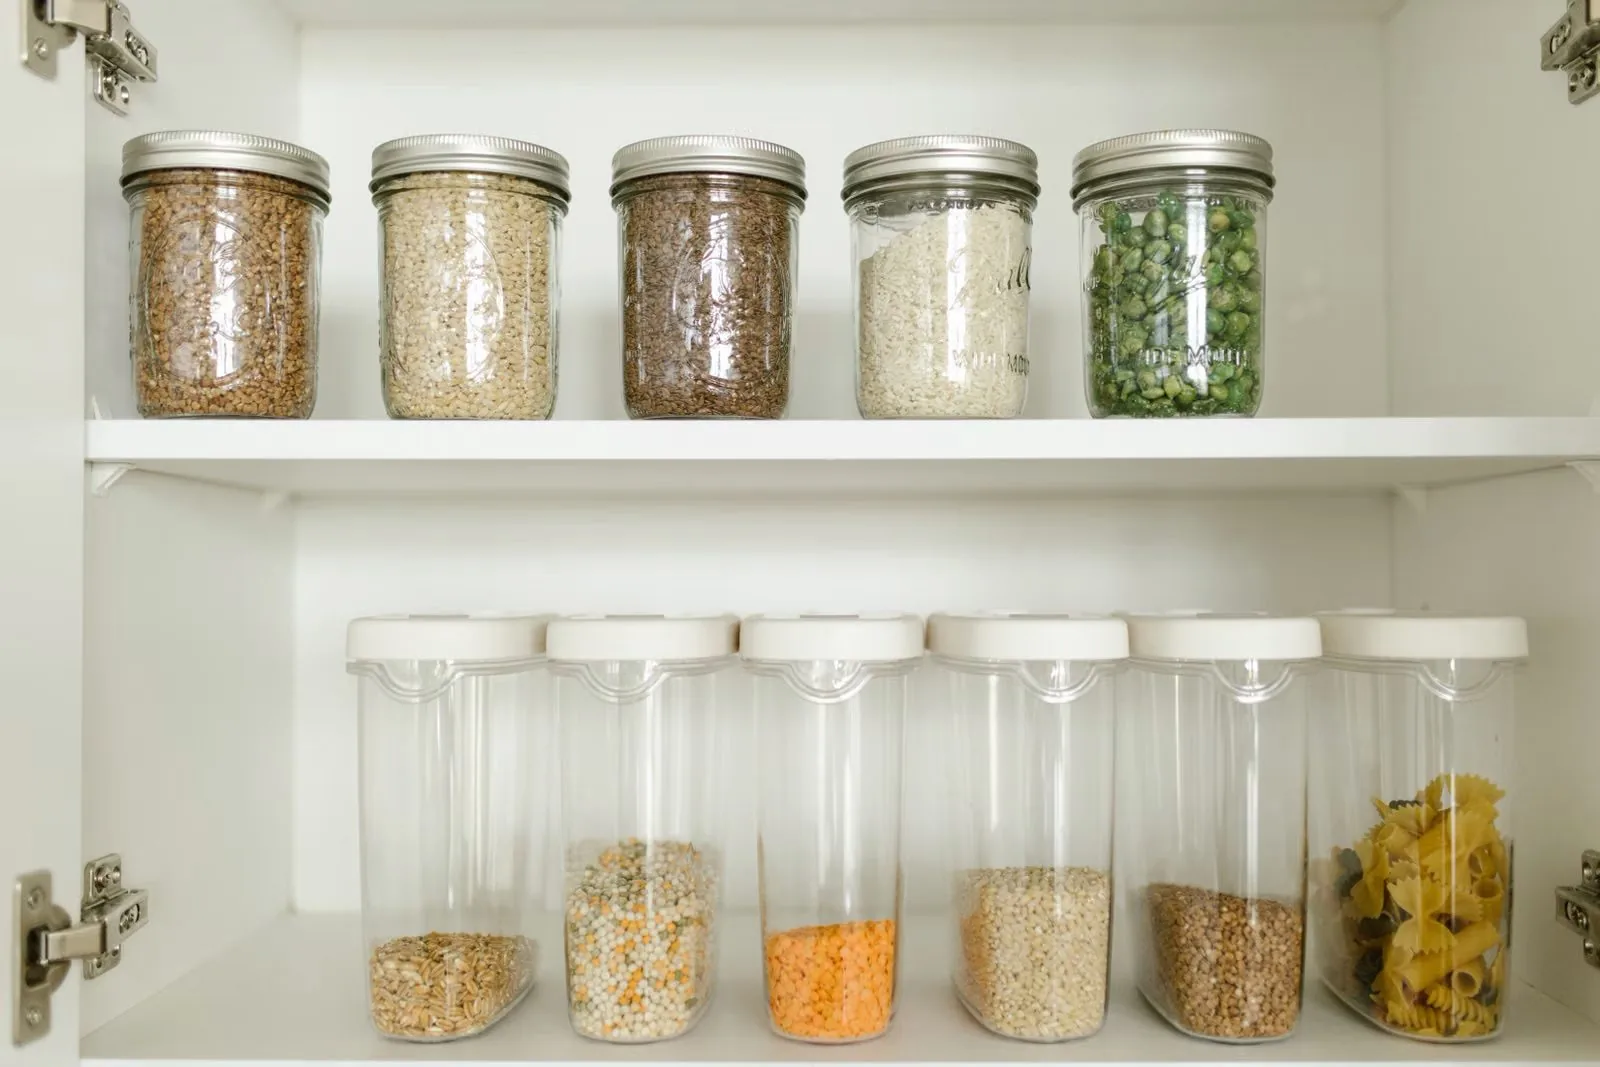
Holiday shopping doubles your dry-goods volume in one trip. Bags of flour and sugar are the worst possible shape for a small cabinet: they slump, spill, and cannot stack. Decant into uniform, airtight, square or rectangular containers as soon as groceries come home, and put backstock — the second bag of flour, the spare sugar — in a closed bin outside the kitchen, in a closet or under a bed, with only the working container in the baking zone.
Label each container with the contents and the date opened. A simple first-in, first-out habit — new supplies go behind or under older ones — stops the classic January discovery of three open bags of confectioners' sugar. Keep a short inventory note on your phone so you stop re-buying cinnamon you already own.
Step 3: Store sheet pans and bakeware vertically
Flat pans stored in a horizontal stack eat an entire cabinet and guarantee you will lift four pans to reach the fifth. Vertical filing is the single biggest holiday baking upgrade for a small kitchen.
- Tension-rod divider: wedge a short tension rod inside a deep cabinet to create slots for sheet pans, cutting boards, and cooling racks on their sides.
- Freestanding rack or file organizer: a simple vertical rack on a cabinet shelf or counter corner holds pans upright with no installation.
- Oven storage, used safely: storing sheet pans in the oven is common, but only works if everyone in the home knows to check before preheating. Add a visible note on the oven dial during the season if you use this spot.
- Top-of-cabinet baskets: Bundt pans, springform pans, and other once-a-season shapes can live in a basket on top of the cabinets until their one big day arrives.
For more ways to keep bulky pans from swallowing a cabinet, see the renter-safe systems for storing pots and pans in a small apartment — the same vertical-filing logic applies to bakeware.
Step 4: Protect your counter space while you bake
Baking takes more surface than cooking: dough rests, trays queue for the oven, and finished cookies need to cool. In a tiny kitchen, plan the surfaces in advance instead of discovering the shortage mid-recipe.
- Stackable cooling racks: a two- or three-tier rack cools a full batch in the footprint of one tray.
- Over-sink board or cover: a board across the sink creates a temporary landing zone for hot trays or a decorating station.
- Stovetop board (cold burners only): a large board over completely cold burners holds bowls and ingredients during prep. Remove it before any burner is lit, every time.
- Rolling cart as a baking station: load flour, bowls, and the mixer onto a cart and wheel it to wherever you are working, then park it out of the kitchen between sessions.
Between baking days, run the counter reset from the small kitchen counter organization guide so the baking zone does not slowly colonise every surface until January.
Step 5: Use the freezer and fridge deliberately
The freezer is your best holiday overflow space. Cookie dough freezes in portioned scoops, pie dough freezes in discs, and many baked goods freeze well for two to four weeks, which lets you spread baking across several small sessions instead of one counter-destroying marathon. Store dough flat in labelled bags, keep a simple list on the freezer door, and leave headroom in the fridge during Thanksgiving week for make-ahead dishes rather than filling it with baking backstock.
In the fridge, give baking its own small bin: butter, eggs, cream, and opened chocolate in one container, so holiday ingredients do not disappear behind leftovers. Take the bin out, bake, and put it back as one unit.
Step 6: Store gift tins, boxes, and leftovers containers
Holiday baking creates a second storage problem nobody plans for: empty cookie tins, gift boxes, ribbon, and a stack of leftover containers waiting to be filled. Nest tins inside each other, store lids separately in a vertical file beside the pans, and keep gift packaging in one bag on top of a cabinet rather than in a prime drawer. Buy leftover containers in one uniform size where you can, so they stack in the fridge and nest in the cabinet when empty — and send as many home with guests as possible, by design.
Step 7: Pack the season away in January
The system only works if it ends. In early January, consolidate half-used baking supplies into your everyday containers, move seasonal pans back to high or deep storage, return the borrowed cabinet space to everyday items, and store the holiday-only gear — tins, specialty pans, extra cooling rack — in one labelled bin outside the kitchen. Note what you ran out of and what you overbought, and keep that note with the bin. Next November, setup takes an hour instead of a weekend.
📌 Pin this for later
Holiday Baking Storage Ideas for Small Kitchens — save it to your "Apartment Kitchen Ideas" board.
Frequently asked questions
How do I store baking supplies in a small kitchen during the holidays?
Create one temporary baking zone in a single cabinet or on a cart, decant flour and sugar into stackable airtight containers, file sheet pans vertically, and move backstock and displaced everyday items to a labelled bin outside the kitchen until January.
Where should I put sheet pans and cooling racks in a tiny kitchen?
Store them vertically. Use a tension-rod divider or a freestanding rack inside a cabinet so pans and racks stand on their sides like files. Stackable cooling racks also save counter space while cookies cool.
How can I make room for extra Thanksgiving and holiday food?
Decant dry goods, move bulk backstock out of the kitchen, freeze dough and baked goods in flat labelled bags, and keep fridge baking ingredients in one pull-out bin. Reserve fridge space in Thanksgiving week for make-ahead dishes instead of storage overflow.
What baking storage should I buy that I will still use after the holidays?
Airtight square containers, a vertical pan rack, and a stackable cooling rack all earn year-round places in a small kitchen. Avoid single-use seasonal organisers that only work in December.
When should I set up holiday kitchen storage?
Aim for 45 to 60 days before your biggest baking or hosting date. For Thanksgiving on November 26, that means setting up in mid-to-late October, before the first big grocery trip.