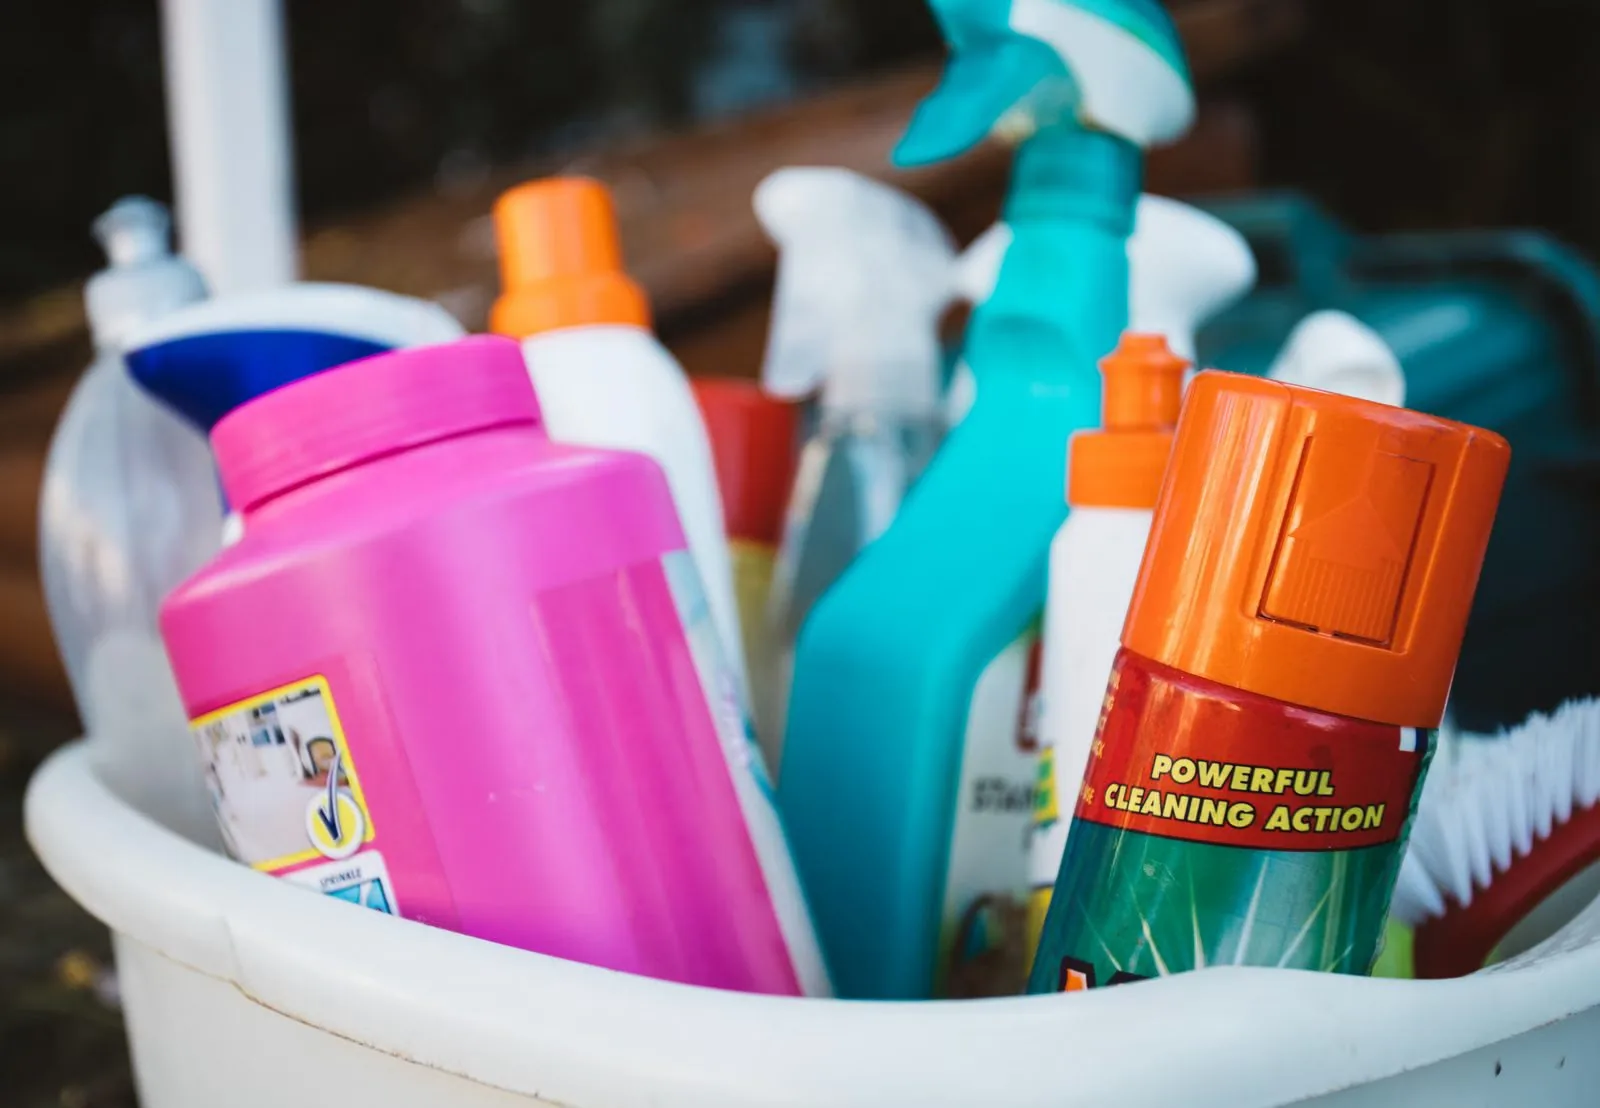
Open the cabinet under your kitchen sink. Go ahead — I'll wait. If what you found is a swamp of half-used spray bottles, mystery sponges, and a trash bag avalanche, you're in good company. The under-sink cabinet is the most chaotic square foot in almost every rental kitchen.
The problem is structural: pipes eat the middle of the cabinet, the space is dark, and everything migrates to the back where it dies. The fix is cheap and completely renter-friendly. Here's how to turn that swamp into the most organized cabinet in your kitchen.
Step 1: Empty it completely (yes, really)
Pull everything out and wipe the cabinet floor. This is non-negotiable — you can't organize around clutter. Throw away: dried-out sponges, duplicate cleaners, anything you haven't touched in a year. In my last reset I found three bottles of the same surface spray. Keep the best one.
Renter tip: lay down a cheap waterproof cabinet liner while it's empty. Rental cabinets are often raw particleboard, and one leak can stain it — a $8 liner protects you (and your deposit).
Step 2: Hang a tension rod for spray bottles
This is the single best under-sink hack. Wedge a small tension rod horizontally across the cabinet, a few inches below the top. Hang spray bottles by their triggers from the rod. Suddenly the entire cabinet floor is free — and you can see every bottle at a glance.
Measure your cabinet's interior width before buying; most under-sink cabinets fit a 16–24 inch rod. It installs in ten seconds and leaves zero marks.
Step 3: Bin it by zone
With bottles hanging above, the floor gets two or three stackable bins, each with a job:
- Daily cleaning bin: dish soap, sponge, scrub brush — the things you grab every day.
- Deep-clean bin: the stuff you use monthly — oven cleaner, descaler, grout brush.
- Trash/recycling bin: extra bags, twist ties, a small compost caddy if you use one.
Clear or labeled bins matter here because the cabinet is dark. If you can't see it, you won't use it — and you'll buy a duplicate.
Step 4: Use the doors
Cabinet doors are free wall space. Stick an adhesive-backed organizer or a couple of strong adhesive hooks on the inside of each door: one side for rubber gloves and scrub pads, the other for trash bags (thread a roll onto a small tension rod or hook so bags dispense one at a time).
Step 5: Add light
A $6 stick-on LED puck light or motion-sensor strip transforms a dark cabinet. You'll actually see what you have, which is half of staying organized. Battery-operated means no wiring and no landlord conversation.
Step 6: Keep a "one in, one out" rule
Under-sink cabinets re-clutter because new bottles arrive and old ones never leave. Tape a tiny rule inside the door: one in, one out. New sponge? Old one goes. New spray? Finish or toss the old one. Five seconds of discipline beats another full reset.
What about the pipes?
Work around them, not against them. Use narrow bins on either side of the drain pipe, and keep the center clear for the hanging rod. If your pipes sweat or drip even slightly, that's a maintenance request to your landlord — don't just put a bucket there forever.
Odor and moisture control
Under-sink cabinets get musty because they're dark, enclosed, and occasionally damp. Three cheap fixes:
- Ventilate when you can. Leave the cabinet door open for an hour after doing dishes. It sounds trivial; it works.
- Absorb moisture. A small container of baking soda or a reusable moisture absorber on the cabinet floor keeps things fresh. Replace every couple of months.
- Fix drips immediately. A slow pipe drip will ruin organizers, breed mildew, and potentially cost you deposit money. If you see moisture that isn't from a spill, that's a maintenance request — text your landlord a photo the same day.
And skip the scented liners and plug-in fresheners marketed for cabinets — they mask problems instead of solving them, and strong fragrances next to food storage are never a good idea.
📌 Pin this for later
12 Under-Sink Storage Ideas for Renters — save it to your "Small Kitchen Organization" board for your next reset weekend.
Frequently asked questions
How do I organize under the sink if the pipes take up all the space?
Hang spray bottles from a tension rod above the pipes, use narrow stackable bins on either side of the drain, and mount organizers on the cabinet doors. The pipes only block the middle — the top, sides, and doors are all usable.
What's the best way to keep under-sink organizers from sliding around?
Use bins with a slightly grippy base, add a non-slip shelf liner under them, and don't overfill. In rentals, avoid screwing anything into the cabinet — adhesive and tension-based solutions hold fine.
Should I put a liner under my kitchen sink?
Yes — a waterproof liner is cheap insurance. Rental cabinets are often unfinished inside, and water damage from a slow leak can cost you part of your deposit. A liner also makes future cleanouts much faster.
How often should I clean out under the sink?
Do a 5-minute check monthly: toss empties, wipe drips, and confirm nothing's leaking. A full reset — everything out, wipe down, re-evaluate — twice a year is plenty. The monthly check is what prevents the slow slide back into swamp territory.
What's the best bin material for under the sink?
Hard plastic: waterproof, wipeable, and cheap. Clear is ideal so you can see contents in the dark cabinet. Avoid fabric bins (they absorb moisture and odors) and cardboard (one leak destroys them). If a bin doesn't have a grippy base, add a strip of non-slip liner underneath.