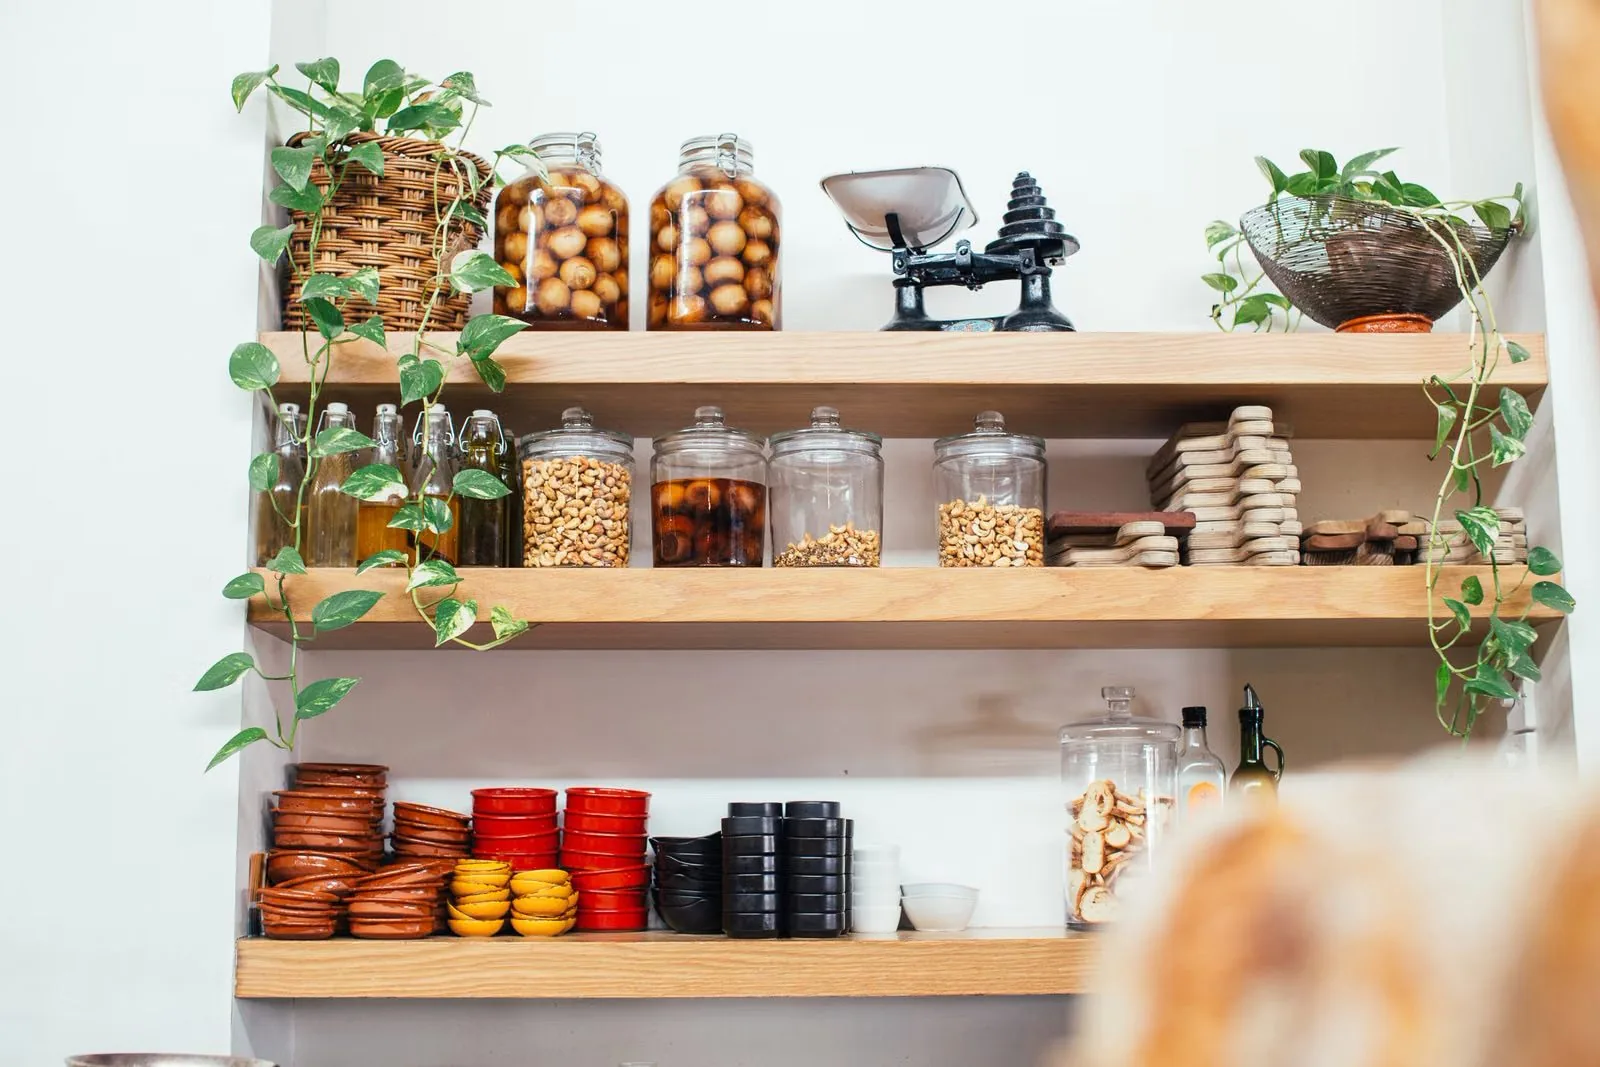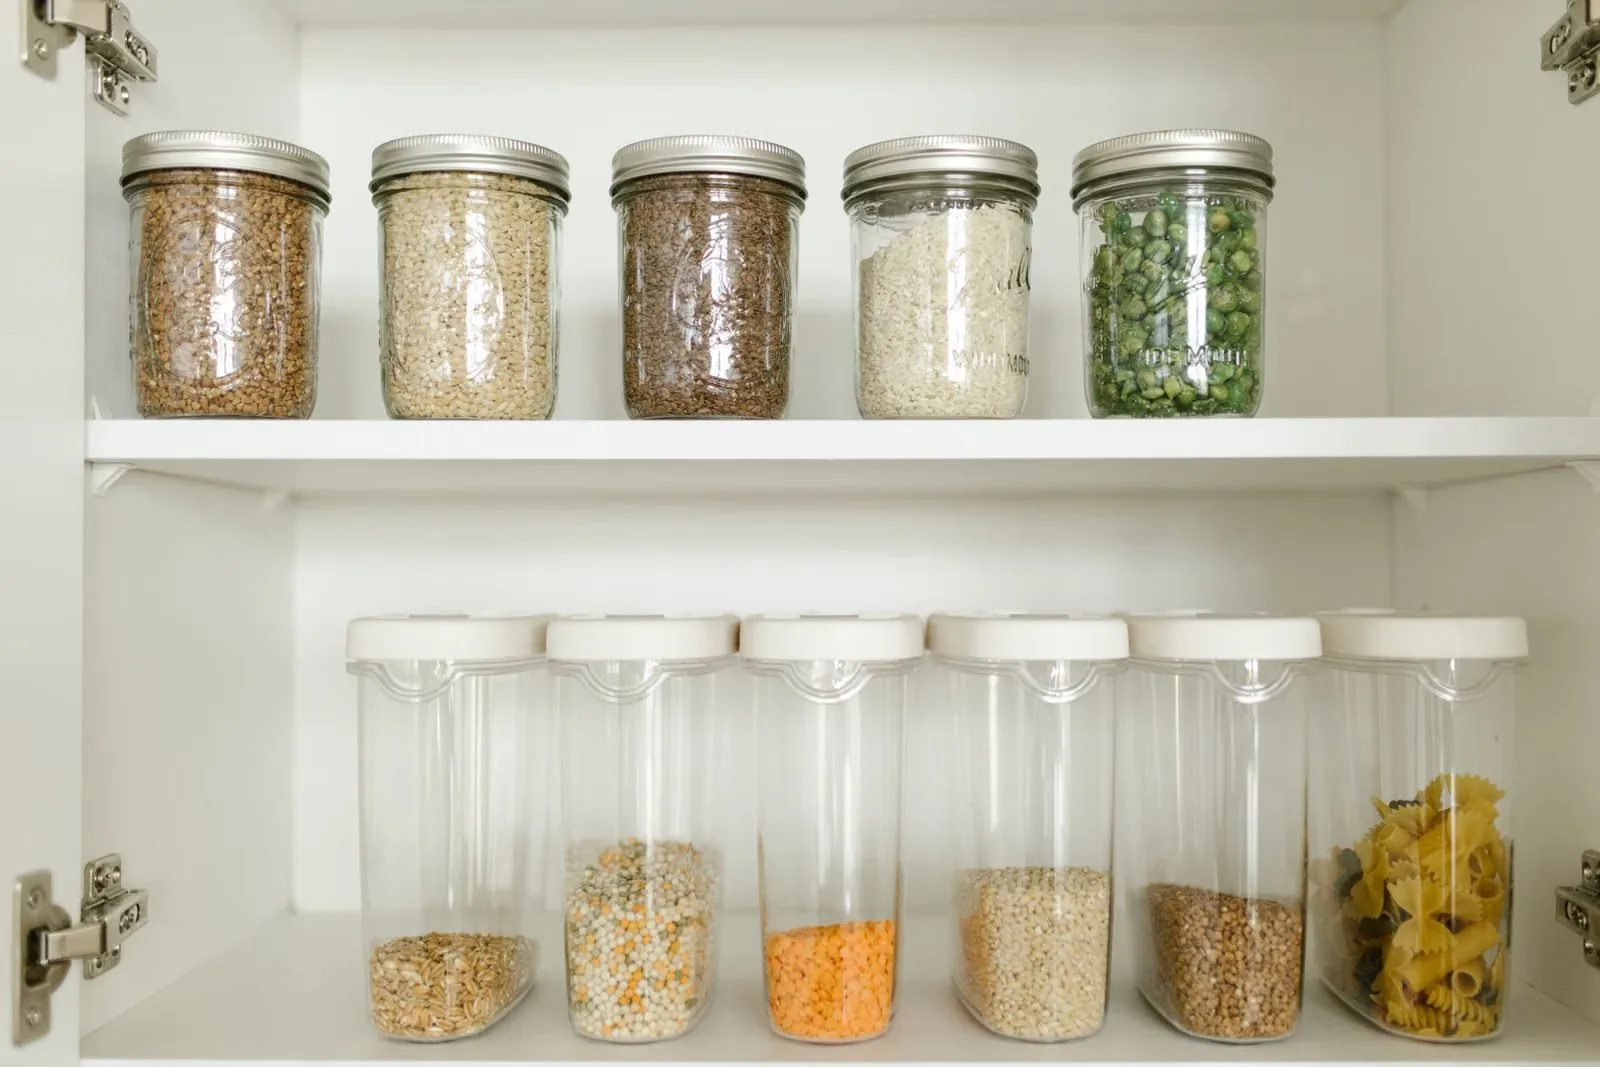
Learning how to organize deep kitchen cabinets is the difference between a kitchen that works and a kitchen with a black hole. You know the spot: the cabinet so deep that cans, boxes, and small appliances migrate to the back and disappear forever, only to be rediscovered — expired — two apartments later. Deep cabinets are common in rentals, and they punish disorganization more than any other storage space in the home.
The good news is that deep cabinets are actually a gift once they are organized, because they hold an enormous amount of stuff. The strategy is simple: bring the back of the cabinet to you. With freestanding pull-out bins, shelf risers, lazy Susans, and a zoning system based on how often you use things, even the deepest rental cabinet becomes fully usable — with no drilling, no screws, and nothing your landlord could object to.
Why Deep Cabinets Become Black Holes
The physics of a deep cabinet work against you. Anything pushed past arm's reach becomes invisible and unreachable, so you stop using it, buy a duplicate, and the cycle repeats. Rental cabinets make this worse because they are often deeper than standard (builders maximizing cheap volume) and have fixed shelves you cannot adjust. The average renter loses real money to this — duplicate spices, expired cans, appliances bought twice because the first one was "lost" in the back.
The fix is not a bigger cabinet; it is a system that makes the back accessible. Every solution in this guide does the same job in a different way: it moves items forward, lifts them into view, or lets you rotate the back of the shelf to the front. Pick the combination that fits your cabinet dimensions and your budget, and the black hole disappears.
Pull-Out Bins for Deep Cabinets (No Drill Required)
Freestanding pull-out bins are the single highest-impact upgrade for deep rental cabinets. These are sturdy plastic or wire bins with handles that sit on the cabinet shelf — you pull the whole bin toward you like a drawer, grab what you need, and slide it back. No screws, no tracks to install, nothing attached to the cabinet at all. A set of two typically costs $15–$25, and they work in both lower and upper deep cabinets.
Size the bins to your cabinet: measure the interior width and depth, then choose bins that leave about an inch of clearance on each side so they slide freely. Use one bin per category — baking supplies, canned goods, snacks, cleaning products under the sink. Clear or open-front bins work best because you can see contents at a glance. For the cabinet under the sink specifically, where pipes eat space, see our guide to under-sink storage ideas for renters for bin setups shaped around plumbing.
Label the front of each pull-out bin with a removable label or a strip of painter's tape. It takes two minutes and stops the slow drift where bins become random catch-alls again. When categories are labeled, everyone in the household puts things back correctly.
Cabinet Shelf Risers: Double Your Usable Space
A cabinet shelf riser ($8–$15) is a small freestanding platform that creates a second tier inside your cabinet — items go underneath and on top, so a single deep shelf suddenly holds two visible rows instead of one hidden stack. This is the cheapest way to defeat the black hole effect for cans, jars, mugs, and small boxes. Two or three risers can transform one deep shelf into what feels like three.
Risers shine for canned goods and jars: put tall items in back on the riser, shorter items in front at shelf level, and everything stays visible in a stepped display. Look for expandable risers that adjust to your shelf width, and check the weight rating if you plan to load them with cans — a fully loaded riser of canned tomatoes is heavier than it looks. Wire risers are sturdy and cheap; bamboo ones look nicer in open or glass-front cabinets.
Lazy Susan for Deep Cabinets: Spin the Back to the Front
A lazy Susan turntable ($10–$20) solves the reach problem elegantly: instead of stretching into the dark back of the cabinet, you spin the back to the front. Place one in a deep corner cabinet or on any deep shelf holding bottles and jars — cooking oils, vinegars, sauces, spice jars — and nothing ever hides behind anything again. Two-tier turntables work even better, doubling capacity in the same footprint.
Measure your cabinet's interior height before buying a two-tier model, and leave clearance for the tallest bottle plus the spin. For corner cabinets with awkward angles, a D-shaped or kidney-shaped turntable fits the space better than a round one. Turntables also work beautifully for vitamins, medications, and small baking supplies. If spices are your main turntable candidate, our guide to organizing spices in a tiny rental kitchen covers drawer and door alternatives too.
Vertical Dividers for Pans and Trays
Deep lower cabinets are where sheet pans, cutting boards, muffin tins, and baking trays go to lean against each other in a clattering pile. A freestanding vertical divider rack ($12–$20) files them upright like records, so each one slides out without disturbing the rest. This is one of those upgrades that feels minor until you use it — no more avalanche when you need the baking sheet at the bottom of the stack.
Vertical racks fit on a deep cabinet shelf, inside a narrow base cabinet, or even on a countertop if cabinet space is truly gone. Adjustable dividers let you customize slot widths for thick cutting boards versus thin sheet pans. If your pans currently live in a chaotic stack, pair this with the stacking method in our guide on renter-friendly small kitchen storage ideas to decide which pieces earn cabinet space and which should be downsized.
Zone by Frequency: The System That Keeps It Organized
Organizers only work if items live in the right place. The zoning rule for deep cabinets is simple: daily items at the front and at eye or hand level, weekly items in the middle, and rarely-used items (holiday bakeware, the fondue set) in the deep back or on the highest shelf. When you restock or reorganize, new items go to their zone — never just shoved wherever there is a gap.
Apply zoning inside pull-out bins too: the bin you grab daily sits front and center; the bin of specialty baking supplies lives behind it. Revisit the zones every few months, because habits change — the air fryer you used twice might belong in the back zone now, freeing prime space for whatever you actually cook with. This habit costs nothing and prevents the slow re-cluttering that undoes every organization project. Renters who also lack a pantry can extend this system with no-pantry storage strategies to keep food zones consistent across cabinets and carts.
Note: Before buying any organizer, measure your cabinet interiors — width, depth, and height — and note fixed shelf positions. Deep rental cabinets vary wildly, and a bin that is perfect for one kitchen will jam in another. Measurements take five minutes and prevent most returns.
What About the Space Above and Below?
Deep cabinets often waste vertical space: a tall cabinet with one shelf leaves a foot of empty air above the stored items. Stackable bins, an extra freestanding shelf insert ($10–$18), or a riser can claim that dead space without a single screw. Under-shelf baskets that hook onto the existing shelf (no tools needed, $6–$10 each) add a bonus tier for light items like wraps, lids, and spice packets.
Do not forget cabinet doors. The inside of a deep cabinet door is prime real estate for slim items: adhesive-mounted racks for spices or wraps, a small caddy for cleaning supplies, or hooks for measuring cups. Over-the-door and inside-door organizers need no drilling and come off cleanly at move-out — our guide to over-the-door organizers for rental kitchens covers the best options. Between door storage, risers, and pull-out bins, a deep cabinet can hold two to three times what it held as an empty box.
Pin this: Pull-out bins bring the back of the cabinet to you, shelf risers double every shelf, and a lazy Susan spins hidden items into reach. Zone by frequency: daily items front, rare items back.
FAQ
What is the best organizer for deep kitchen cabinets in a rental?
Freestanding pull-out bins are the top pick: they slide out like drawers so you can reach the back, require no screws or installation, and cost about $15–$25 for a set. Pair them with shelf risers ($8–$15) to double each shelf's usable space, and the black-hole problem is essentially solved.
How do I reach items in the back of deep cabinets?
Stop reaching — bring the items to you. Pull-out bins slide the whole category forward, and a lazy Susan turntable ($10–$20) spins back items to the front. Also zone by frequency so rarely-used items are the only things living in the deep back, where you seldom need them.
Can I install pull-out shelves in a rental without drilling?
Yes — use freestanding pull-out bins instead of installed pull-out shelves. They sit on the cabinet shelf and slide by hand, with no tracks or screws. They are not quite as smooth as true installed drawers, but they deliver 90% of the benefit with zero deposit risk and they move with you.
Are lazy Susans worth it for deep cabinets?
For bottles, jars, and anything you grab by reaching — absolutely. A $10–$20 turntable ends the era of knocking over three bottles to reach the soy sauce. Measure interior height first, and choose a two-tier model if you have the clearance. They also work well in deep corner cabinets where a D-shaped turntable fits best.
How do I keep deep cabinets organized long-term?
Zone by frequency (daily items front, rare items back), label your bins so categories stay pure, and do a five-minute reset monthly — pull each bin out, toss expired items, and return strays to their zones. The system only fails when new items get shoved wherever there is space, so make "everything has a zone" a household rule.