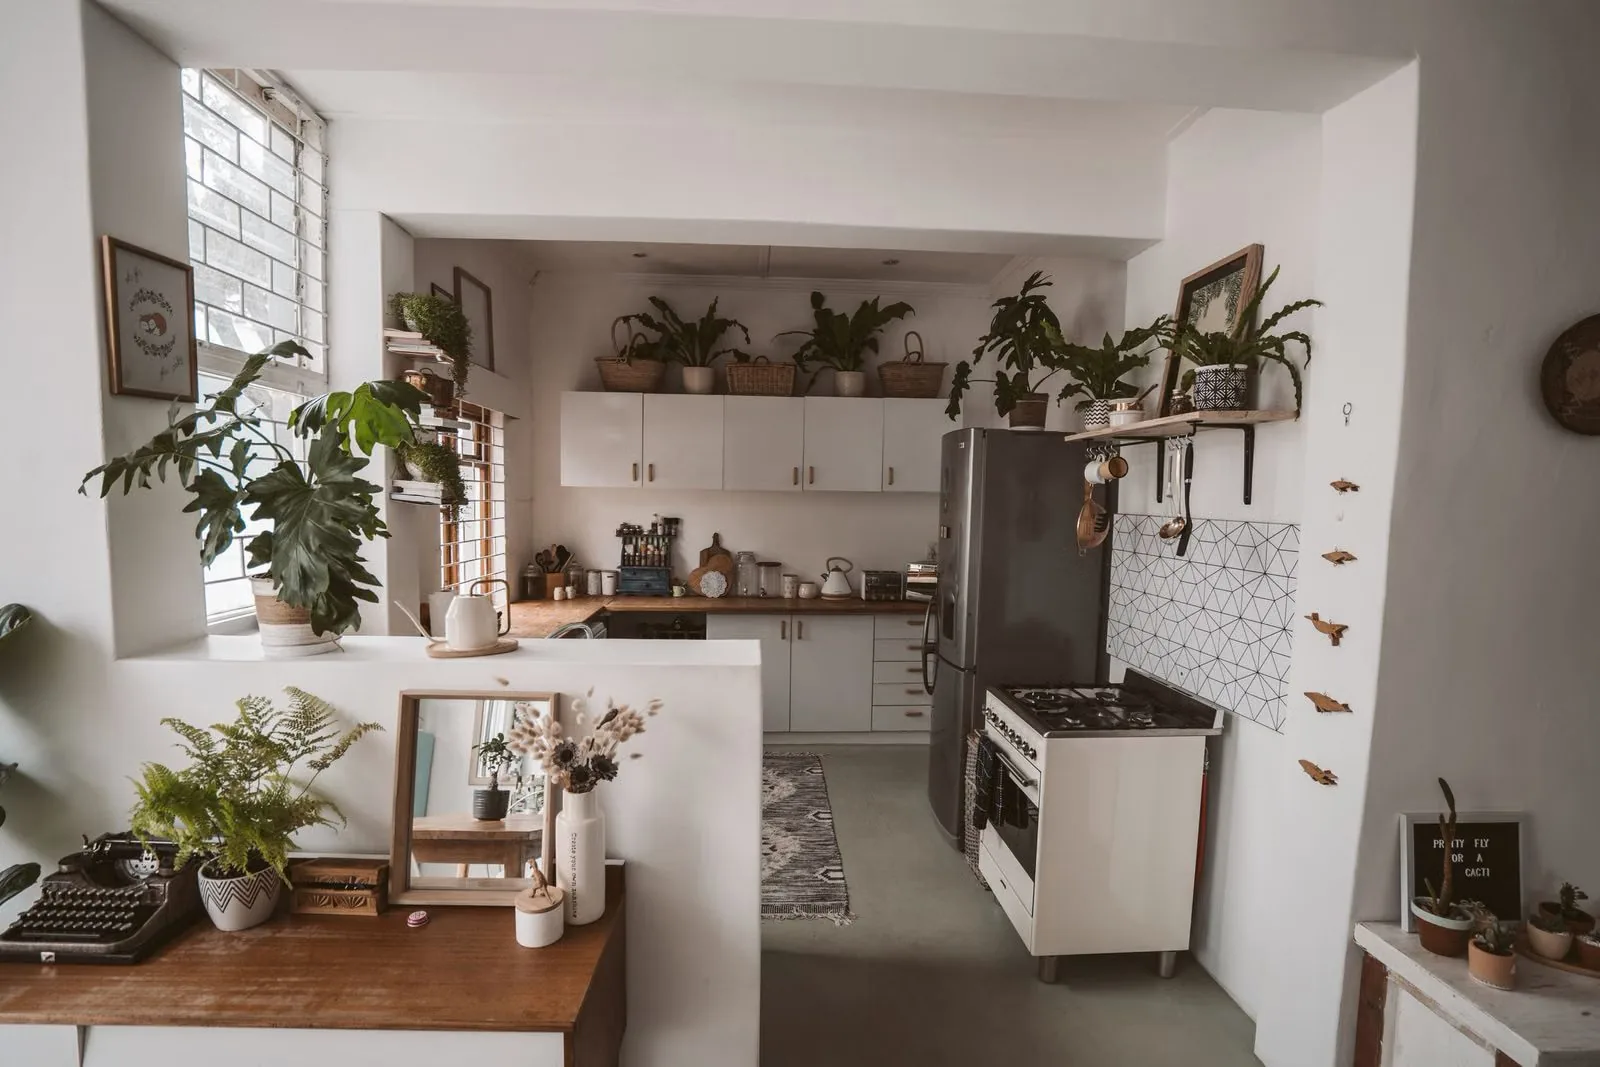
If your rental kitchen is a narrow hallway with counters on both sides, you need galley kitchen organization ideas built for that specific shape — not generic small-kitchen tips that assume you can add an island. A galley kitchen lives or dies on one thing: keeping the walkway clear. The moment the corridor fills up with clutter, trash cans, and things pulled from the oven, the whole kitchen stops working.
The good news is that narrow galley kitchens are some of the most efficient kitchen layouts ever designed — everything is within arm's reach. With renter-friendly fixes that require zero drilling and zero renovation, you can organize a narrow galley kitchen so it feels like a chef's workspace instead of a hallway with appliances. Here's how to do it.
Understand the One-Side Rule: Keep the Walkway Clear
The single most important rule in a galley kitchen is this: the walkway belongs to walking, not storage. It's tempting to park a rolling cart, a trash can, a drying rack, and a shoe bin in the corridor — but every item on the floor narrows a space that's already only three to four feet wide. Before you organize anything else, clear the floor completely.
That stuff gets relocated up, not thrown out: trash can under the sink or on a cabinet door mount, dish rack swapped for a roll-up over-the-sink rack that stores flat, cleaning supplies in an under-sink organizer, and the rolling cart parked at one end of the galley — never in the middle blocking the oven door. An empty corridor instantly makes the kitchen feel twice as wide.
Test your clearance honestly: stand in front of the oven and open its door fully. If anything on the floor or a lower shelf blocks it, that item has to move. In a galley, an open oven door plus a person should still leave passable room — plan every storage decision around that measurement.
Divide Your Galley Into One-Side Task Zones
In a galley kitchen, the two sides of the corridor should have distinct jobs — otherwise you end up spinning in place. The classic renter-friendly setup: one side is the "hot zone" (stove, prep counter, cooking tools, oils, spices), the other side is the "clean zone" (sink, dish storage, cleaning supplies). When each side has a defined role, you stop doing the 180-degree shuffle of carrying dripping pans across the walkway.
Small galley kitchen storage in a rental also benefits from splitting prep from storage. If you have slightly more counter on one side, make that the prep side and keep it as clear as possible — cutting boards, your knife block or magnetic strip alternative, and daily-use tools only. Push bulk storage, appliances you use weekly, and overflow pantry items to the far end or the opposite side. The goal is that your most common cooking motion — chop, cook, wash — flows in a tight triangle along one side of the galley.
If you share the kitchen, this zoning doubles as a traffic plan: one person owns the hot side, the other the clean side, and nobody reaches across anybody in a three-foot corridor.
Go Vertical: Wall Storage Without Drilling
Galley kitchen vertical storage is your biggest unlock, because your walls are long and your floor is not available. But renters can't drill — so every vertical solution has to be damage-free. Fortunately, that's plenty:
- Command-hook rails or heavy-duty adhesive hooks ($8–$15 per set) on the wall beside the stove for spatulas, ladles, and oven mitts — your most-used tools stay within arm's reach without eating a drawer.
- A command-hook kitchen setup for hanging measuring cups, pot holders, and even a small spice rack — weight limits matter, so check each hook's rating and use the largest strips for heavier items.
- Magnetic solutions that stick to the fridge side (which usually faces one end of the galley): magnetic knife bars, magnetic spice tins, magnetic paper-towel holders. The side of your fridge is prime vertical real estate in a galley.
- Tension rods mounted inside cabinet openings or between walls create instant hanging or stacking space — inside under-sink cabinets for spray bottles, or between the walls at one end of the galley for curtain-style storage.
- Over-the-door organizers on pantry or cabinet doors add a whole second layer of storage for spices, wraps, and cleaning supplies without touching the walls.
Every wall inch you use vertically is a floor inch you keep clear — put daily items at arm height and lesser-used ones higher.
Note: Adhesive hooks need 24 hours to cure before you hang anything heavy, and they hold best on smooth surfaces — not textured walls. If your rental walls are textured, lean on magnetic and tension-based solutions instead; they don't depend on adhesion at all.
Slim Rolling Carts: The Galley's Best Friend (Placed Right)
A slim rolling cart is almost unfairly perfect for a galley kitchen — except for the placement trap. A narrow cart (look for ones 7–10 inches wide) can live at the dead end of the galley, tucked against the wall at the far end, or even rolled into a nearby closet when not in use. What it must never do is sit in the middle of the walkway. That one mistake turns a great storage solution into the thing that makes your kitchen miserable.
Use the cart as a rolling pantry, a coffee station, or a prep extension. The beauty of wheels is that you can roll it into the corridor when you need extra counter space and roll it back out when you're done. Some renters keep their cart in the adjacent dining area or hallway and wheel it in only for cooking sessions — that's a legitimate strategy when your galley is truly narrow.
On the cart itself, use the vertical: stackable baskets on the tiers, a small tray on top to corral items, and S-hooks on the side rails for oven mitts or bags. One well-organized slim cart can absorb the overflow that would otherwise land on your counters — and unlike a permanent shelf, it leaves with you when the lease ends.
Lighting: The Cheapest Galley Upgrade
Galley kitchens in rentals are often badly lit — one dim ceiling fixture and shadowy counters. You can't rewire, but you can absolutely fix the light with no-drill solutions. Battery-operated or rechargeable LED puck lights ($12–$25 for a multipack) stick under cabinets with adhesive and turn a dark prep area into a bright workspace. Motion-sensor versions are ideal: they light up when your hands are full of groceries and turn off by themselves.
LED strip lights with adhesive backing under the upper cabinets do even more — they wash the whole counter in light and make the kitchen feel larger and cleaner. Stick them to the underside of the cabinet, not the wall, so there's no damage when you remove them at move-out. Warm white (around 3000K) looks cozy and food-friendly; cool white (5000K) is better for actual prep visibility, so choose based on your priority.
Good light also makes knife work safer and the whole galley feel bigger — it's the highest-impact, lowest-effort upgrade on this list.
What NOT to Store in a Galley Kitchen
Just as important as what goes in: some things don't belong in a narrow galley at all. Bulky single-use appliances (bread makers, juicers, that fondue set) should live in a closet or storage area — or be donated if you haven't touched them in a year. In a galley, every bulky item you store is counter space you lose daily.
Also keep out: duplicate tools (you need one good spatula, not four mediocre ones), oversized cutting boards that don't fit the prep area, and the "aspirational" pantry — ten kinds of flour and three baking kits you never use. A galley kitchen rewards a lean, curated set of tools and ingredients. If you need a framework for deciding what stays, renter-friendly storage principles start with the same declutter-first logic.
Finally, keep the corridor exits clear. The ends of a galley are natural dumping grounds for the "I'll deal with it later" pile — treat them like fire exits: nothing lives there permanently.
Pin this: The Galley Rules — (1) Walkway stays clear, always. (2) Hot side and clean side each get one job. (3) Walls go vertical with no-drill hooks and magnets. (4) Slim cart lives at the end, never the middle. (5) Light it up with under-cabinet LEDs.
FAQ
How do I organize a narrow galley kitchen in a rental without renovating?
Start by clearing the walkway completely — nothing on the floor. Then assign each side of the galley a job (hot/prep side vs. clean/sink side), go vertical with adhesive hooks, magnetic fridge-side storage, and tension rods, and use a slim rolling cart placed at the end of the galley rather than in the corridor. Under-cabinet LED lights finish the transformation. No drilling, no permanent changes, all deposit-safe.
Where should I put a rolling cart in a galley kitchen?
At one end of the galley, tucked against the wall, or in an adjacent room that you roll it in from when cooking. Never park it in the middle of the walkway — in a three-to-four-foot corridor, a cart in the middle blocks the oven door and turns cooking into an obstacle course. A 7–10 inch wide slim cart fits the dead-end space most galleys have.
What's the best lighting for a dark rental galley kitchen?
Battery or rechargeable LED puck lights and adhesive LED strips mounted under the upper cabinets — both are renter-friendly with no wiring or drilling. Place strips on the underside of cabinets so they remove cleanly at move-out. Motion-sensor pucks are ideal for hands-full moments; warm white looks cozy while cool white gives better prep visibility.
How can two people cook in a tiny galley kitchen?
Give each side of the galley a defined role — one person owns the hot/prep side, the other owns the sink/clean side — so nobody crosses paths. Keep the walkway empty, prep everything before you start cooking so there's less movement, and use a slim cart as a movable extra station that one person can use at the end of the galley. Traffic rules beat square footage.
Can I use Command hooks in a galley kitchen with textured walls?
Adhesive hooks hold best on smooth surfaces and need 24 hours to cure before loading; on textured walls they often fail. In that case, rely on magnetic storage (fridge side, magnetic knife bars, spice tins), tension rods between cabinet openings, and over-the-door organizers — none of them depend on wall adhesion. Check weight ratings and don't overload any single hook.